Making Memories and a Tutorial on How to Tie a Quilt
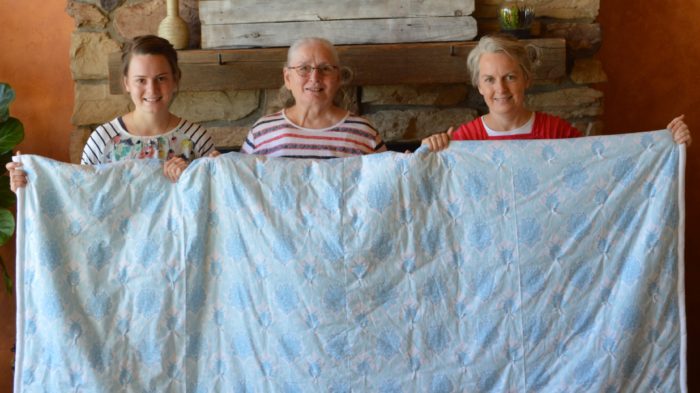
Last week my aunt, her son and granddaughter (my cousins) came for a visit. We had a really good time showing them around our state – even visiting the Grand Canyon which was the first time for all 3 generations. You can see that my cousin is just a wee bit taller than me. 6′ 5″ versus my diminutive stature of 5′ 3″.

So while my aunt was here I asked her if she would show us how to tie a quilt. You see, my grandmother who has been gone for 17 years, loved to quilt. She made patterned quilts and tied quilts. I have at least 9 quilts right now that she gave just to me and my children (they each have one made by her) and of course, she had many other grandchildren as well as her own children, who all received from her.
With my grandma’s tied quilts there is no sewing of squares. Instead you purchase one big piece of material, cut it down the middle, sew it together and you have your top.
I’ll show you the steps we took.
The first thing we had to do was get our supplies.
For a queen size quilt you need:
5 yards material
Quilt batting – queen size
Queen size sheet (for backing)
Yarn
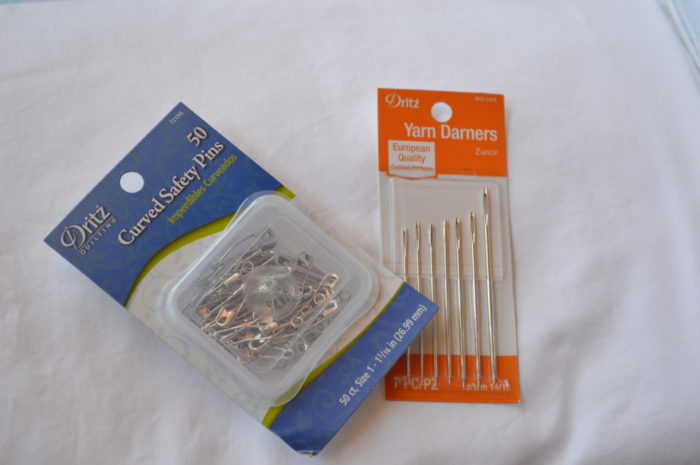
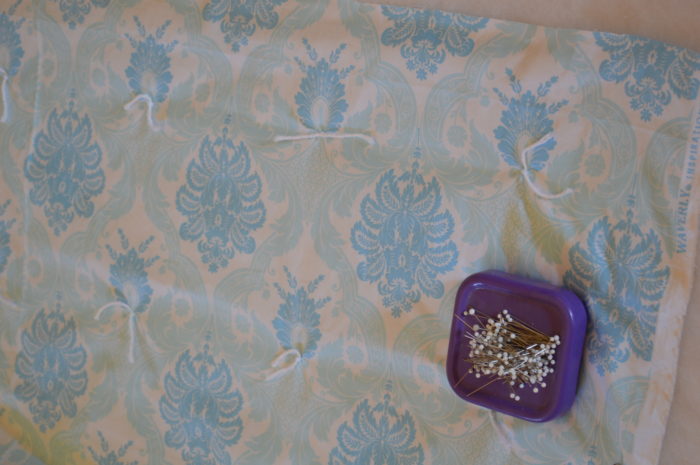
Curved safety pins
Yarn darner needles

For the backing, I used an old queen size sheet. Do you have the problem of your fitted sheets ripping but your top sheet is still good? I do, so I used a top sheet that I had that’s of good quality.
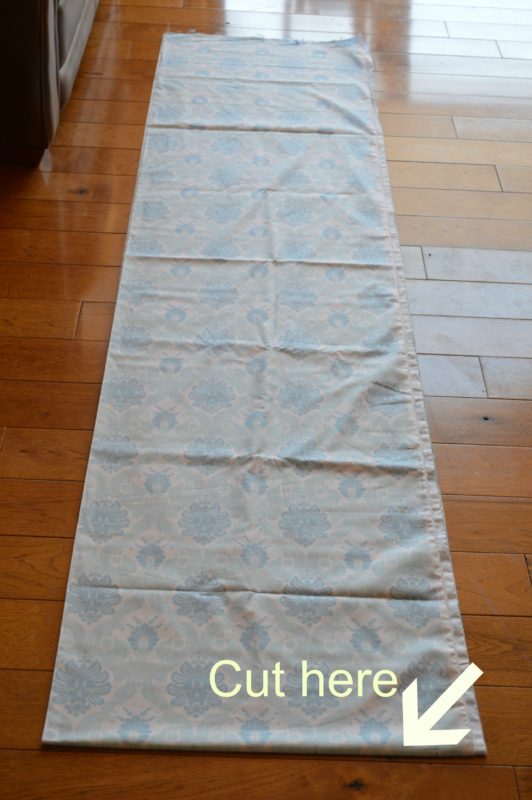
I laid the material out like this (folded in half lengthwise and then folded in half again – see picture for a visual).
Where the fold is at the short edge, you will cut it.
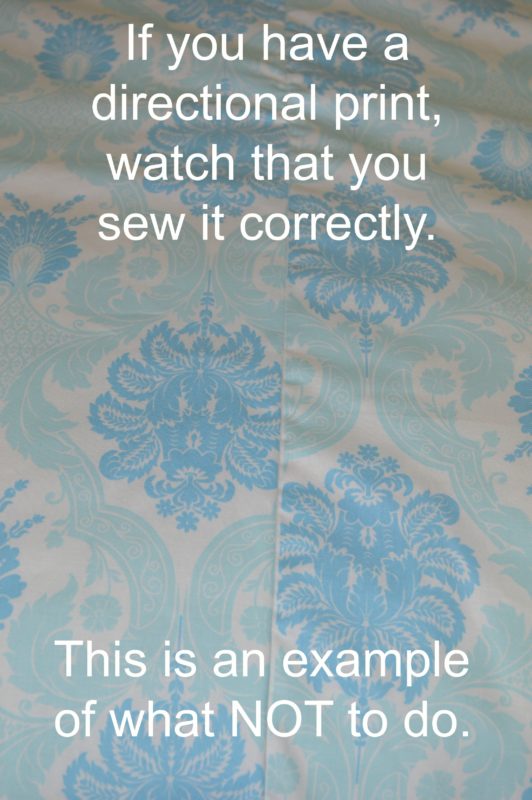
If your fabric is directional you will want to be sure you lay out your material correctly before you sew it.
We didn’t and had to rip out our sewing and try again.
For your bottom sheet remove all the hemming by ripping or cutting it off.
Since I don’t have quilt frames, I used our kitchen floor to layer and pin my quilt. I would be hesitant to do this on anything but tile.
We taped the bottom sheet to the floor using strips of masking tape and making sure the sheet was taut.

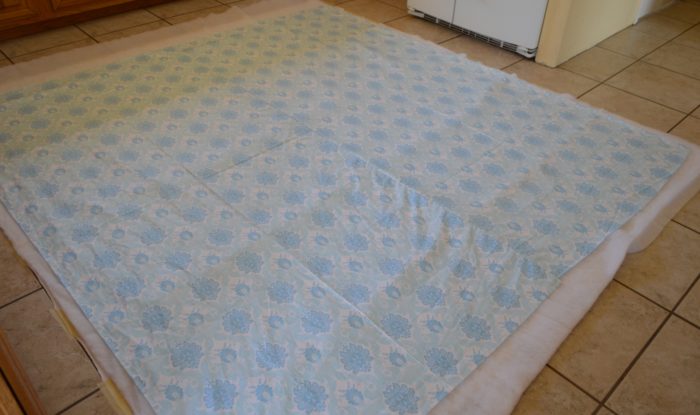
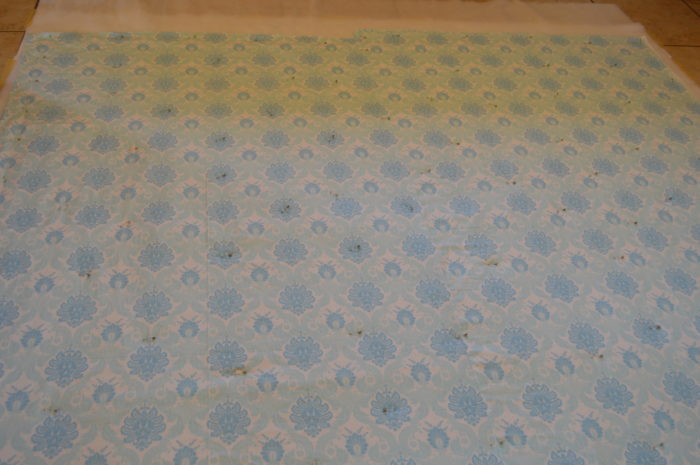
Unfold your batting and place on top of the sheet and then place your fabric on top of that being sure to leave about 2″ of backing on all sides. The backing (flat sheet) will also be your binding.
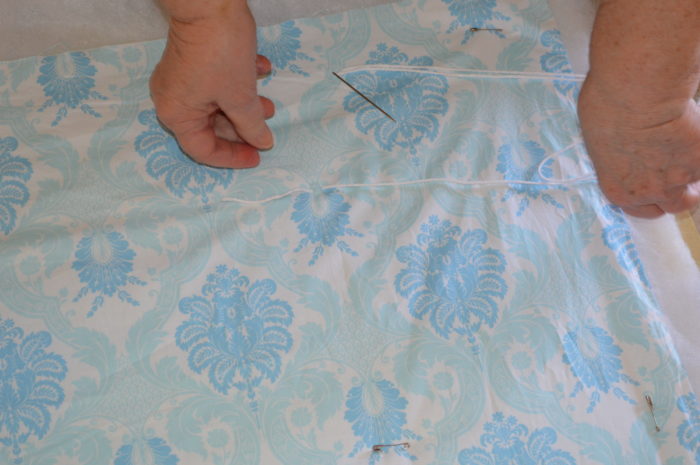
After we laid the fabric out, we could see that since the fabric was directional we needed to resew our pieces and be sure the print was lined up correctly. So this picture is before we ripped out and resewed our two pieces.
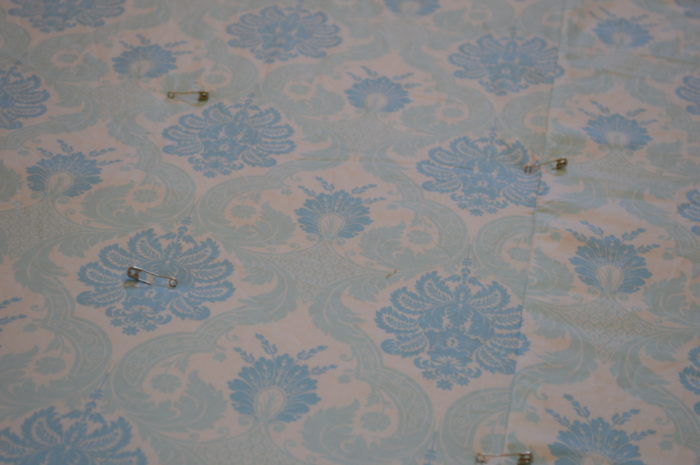
The next step is to take your curved safety pins and pin all 3 layers together. It’s not as hard as it sounds. With the bottom sheet stretched taut, it makes it very easy to do.
Now you can see the directional fabric has been sewed correctly. 🙂
The next step is to tie the quilt and we’re getting really close to being done with the entire thing! Once your quilt is tied all your layers will be connected together.
Cut off about 3-4 feet of yarn and thread the yarn through one of the darning needles.
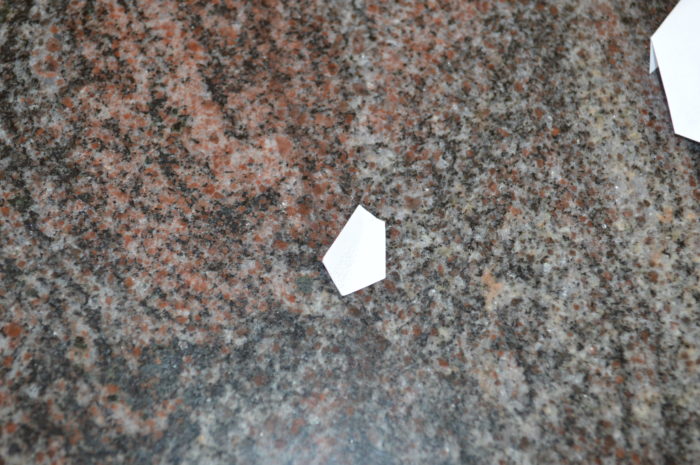
My aunt made this needle threader out of a piece of paper. So simple but it really worked well!
You want the little triangle tip since that is the part that will be inserted into the needle head.
Take the end of your yarn and lay it on the paper. Fold the paper over and insert the pointed triangle into the needle head. Then pull the yarn all the way through.
Try it! It works great!
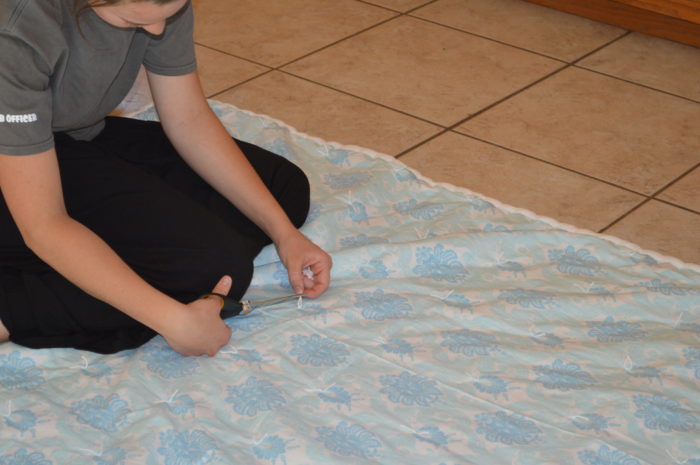
Instead of having to mark where you want to tie your yarn, choose something on your quilt top that you can use to help you be consistent and accurate with where you tie your strings.
In the picture below you can see where I chose to bring the yarn through and I did it the same over the entire quilt top.
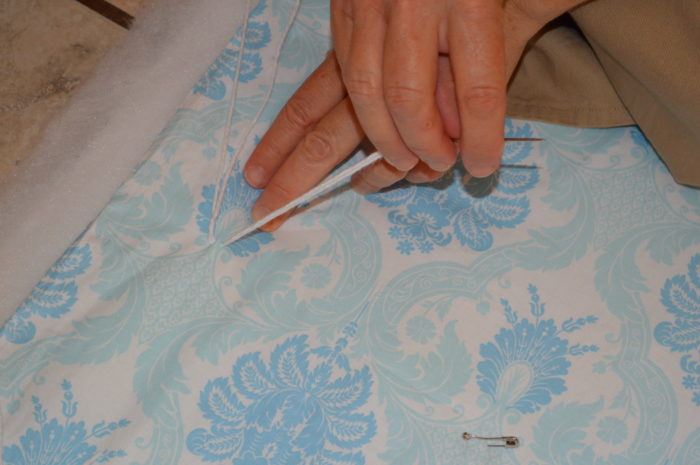
Once you pull the yarn through, cut the yarn and then double knot it.
The yarn ends might be longer than you like but after you’ve tied the whole quilt, you can go back and cut the tails shorter.
The yarn is tied but tails still need to be cut.
Cutting tails…
Last step of the quilt is to finish the binding!
I hope I can explain this step well enough. When you bring your backing material up, fold it tell it just meets the raw edges of the quilt top and batting…
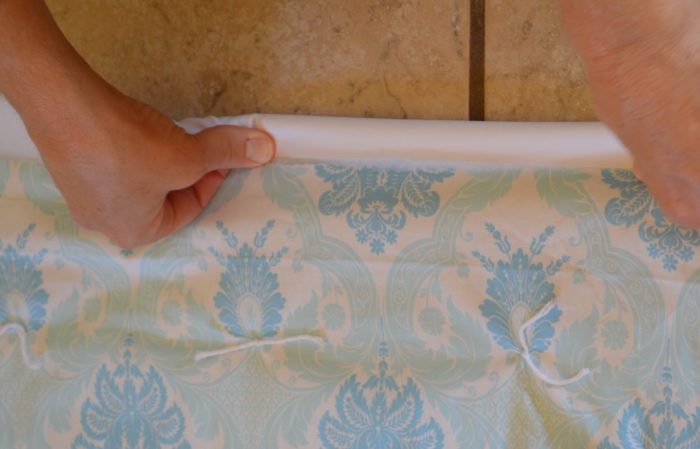
and then fold it over the top of the quilt… (no raw edges will be showing at this point)
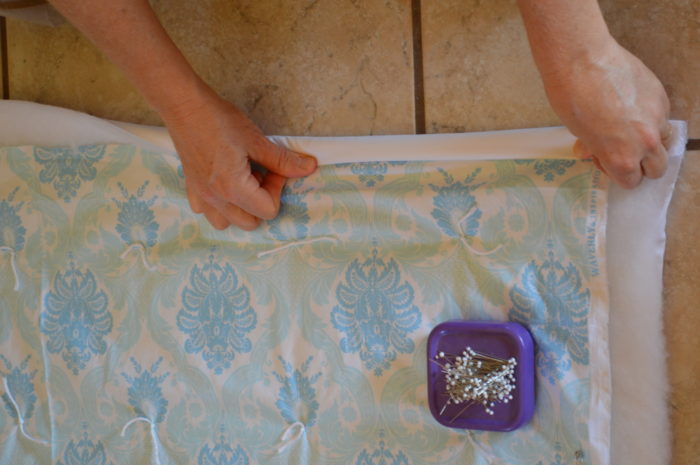
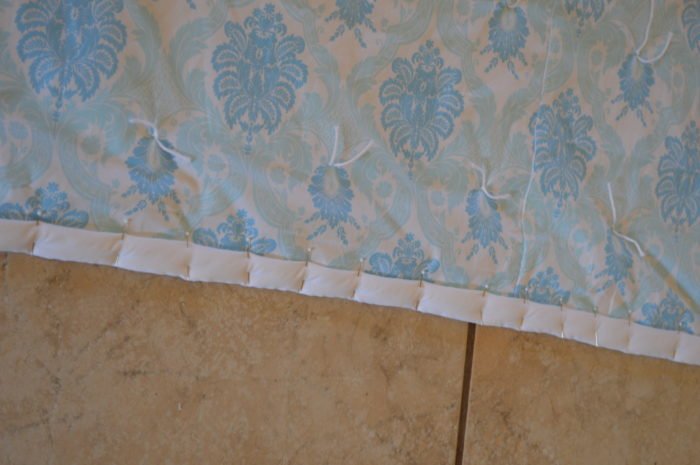
…and pin; stitch in place.
It took about 4 – 4 1/2 hours to complete this quilt.
I love it and I think my aunt for showing us this timeless way of making a quilt top.
Although I love making quilts that have a design and are made of squares, I hardly ever complete them. And if you think about the kinds of quilts that you can purchase for a bed, they tend to be too thin or made of a synthetic. I love that this is cotton. It feels so nice and comfy. Since I had owned a bottom sheet already, the cost of the quilt was about $45.
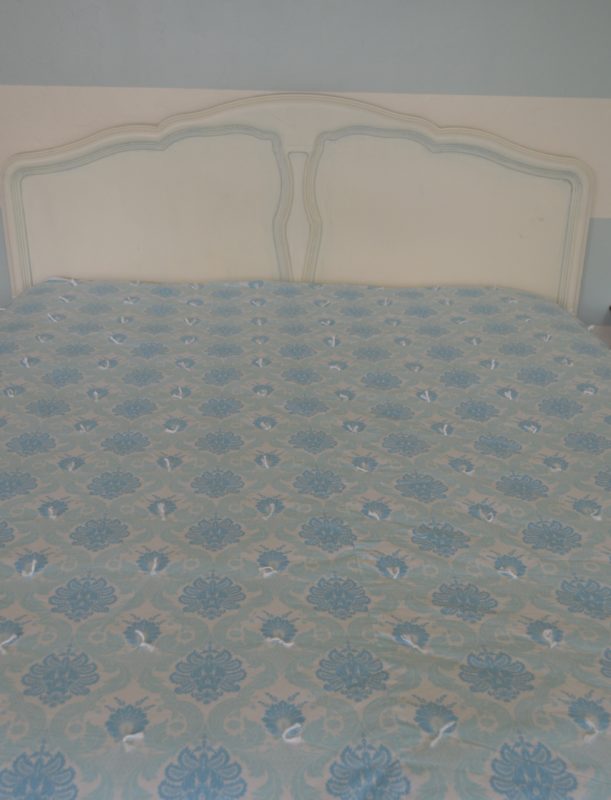
Here it is on my bed. Ahhh, I like it so so much!
(It’s not my bedspread just a quilt for keeping warm.)
3 Comments
Mary
It looks great on your bed with your wall color!!! My mom has made twin versions like this for some of us and I love them, except she usually put flannel on the back for warmth and coziness here in the winter :). Great job!!!
Lucille
I have some great memories tying quilts with my grandma, aunt and cousin. Nothing like the homemade quilts, not only made with love but they are sentimental, seem warmer…Tradition!!!!! 🙂
Amber
Thank you for the tutorial. The print is so pretty. Suits your bedroom really well. Looking forward to find the time to quilt again. It’s been a while!