From Pallet to Flag
Hello, ladies. I’m pretty excited that I finally got to finish my flag project. Two flags, as a matter of fact.
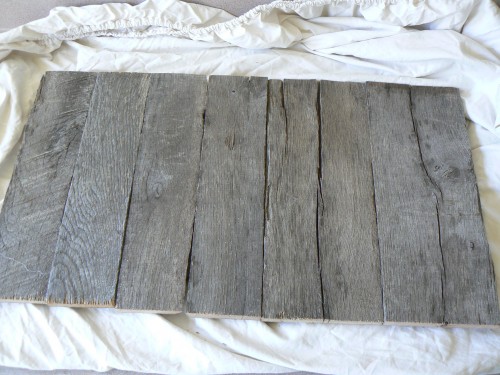
I wanted to paint a USA flag and a Canadian flag on old wood. For my purposes, I used a pallet that we had lying around. I removed the boards, cut them to the size I wanted and then we attached them together by laying a couple of strips of wood down and stapling the boards I wanted to them.
Sorry, I don’t have a picture of the underside to show you how we attached them but you probably have it figured out already anyways… right?
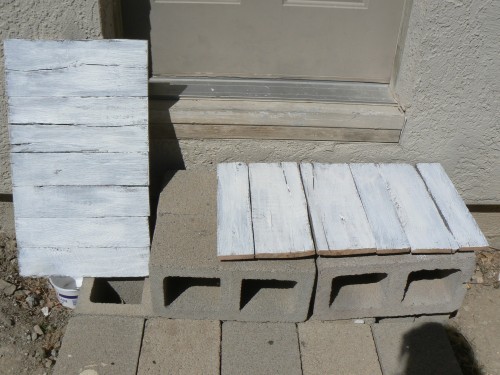
The next step was to prime the boards. I used Kiltz. I wanted to prime them so that I wouldn’t have to use as much paint in the final process. (Note: I’m really a newbie at painting but I’ve read a lot of blogs and they always talk about priming so I asked my husband plenty of questions about it, so that I could understand better why I needed to do it at all.)
Kiltz is an oil based primer so I ended up throwing away the paint brush when I was done since it was an inexpensive one. If you get it on your hands, it wants to stay. You need some kind of
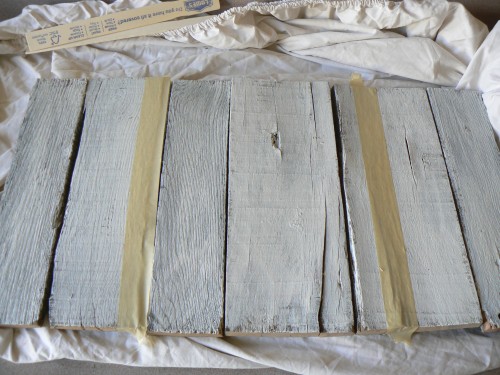
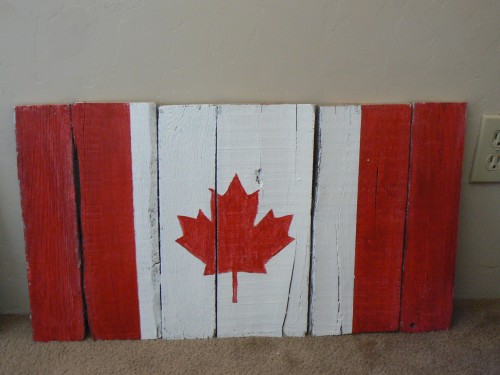
I started painting the Canadian flag first since that seemed like it was going to be the easiest. I used masking tape to define my areas. Red on the left and right and white in the middle. I found a Canadian Maple leaf online and printed it out using Printmaster. I then traced the leaf onto the wood.
The finished piece…
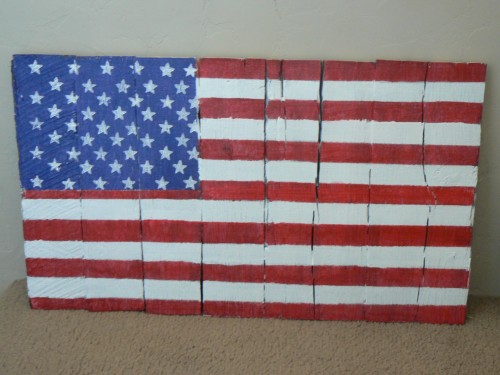
Next up was the United States of America flag. It went pretty well except I was stumped on what I was going to use for the stars. I asked for different ideas and my son thought of making a stamp. Then I rememberd I had a rubber stamp with stars. I used my paint brush to apply white paint to the biggest star and then stamped them on. After each star was stamped I had to reapply the white paint.
Here’s the finished USA flag.
I’m using these to decorate my boys’ bedroom. They’re now mounted on the wall and I think they look pretty good. I’ll show you the mostly finished corner next week.
Have a great weekend!
Joining up with

12 Comments
Anna
HEEEEEY…That’s a pretty amazing job…(Sounded difficult to me.) Looking forward to pictures of them on the wall.
Zoe
I really like the Canada flag, but the USA flag is pretty neat 2!
Great job, what a creative idea
Elisabeth
Thanks, Zoe & Anna. They were fun to make. Even the USA flag with all its stripes and stars wasn’t bad.
Kaitlyn
I really like this idea!!! You are so creative!
Elisabeth
I really don’t feel very creative, Kaitlyn. I’m working on it though. Your mom is really good and I get inspired by what she does, too.
Lily
The flags look great! You are amazing…I’m feeling totally uninspired right now. Just trying to keep up with the house, laundry and school.
Pingback:
Kammy's Korner
Love these. The boards give them the perfect rustic touch!
Melissa
That is really cute! I think I know what project I want to accomplish this weekend! Thanks for the inspiration!
Deborah
Love the rustic flag! Hmmm…I have a busted up pallet or two laying around here. Maybe I’ll make one!
Have a lovely week!
Deborah
Betsy
The flags look great!! I’m sure it will look great in your boys’ bedroom. Thanks for sharing this project at Romance on a Dime!!
Chris Zuma
Amazing idea, I´ll try with a portuguese (and maybe a brazilian for the husband) flag:)