Painting Art for the Chicken Coop
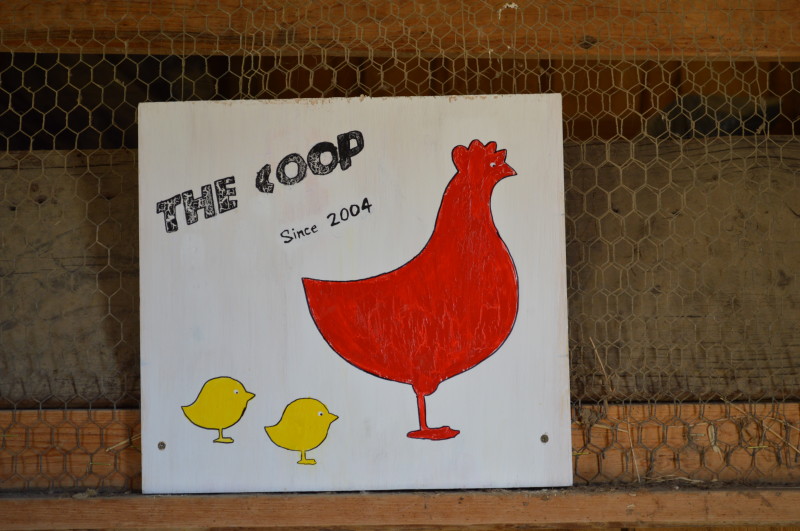
Well my little chicken flock now has their own art.
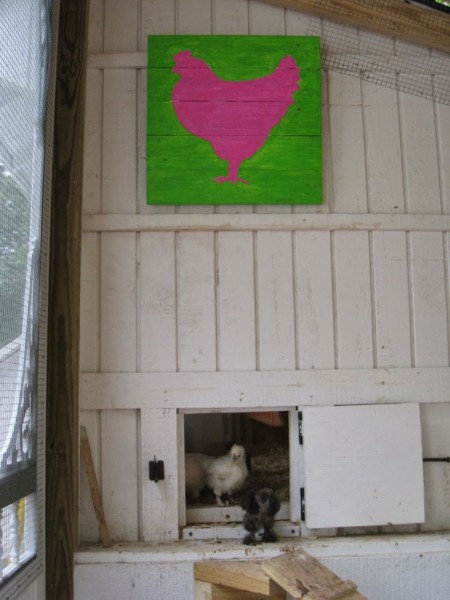
Inspired by Repurposed 4 Life with the chicken art she painted…
I painted something of my own.
Doing projects like this is great because it doesn’t have to be perfect. And it isn’t. 
Here’s how I made it.
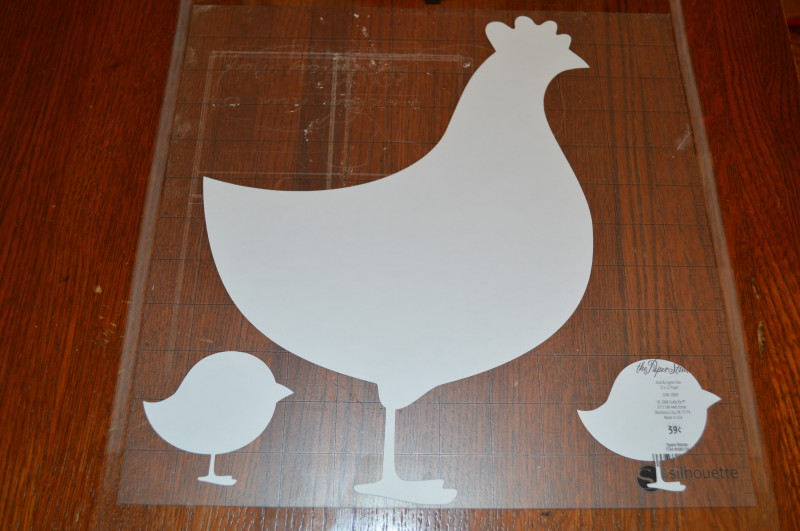
1. Using my Silhouette Cameo I cut out a hen with two chicks.
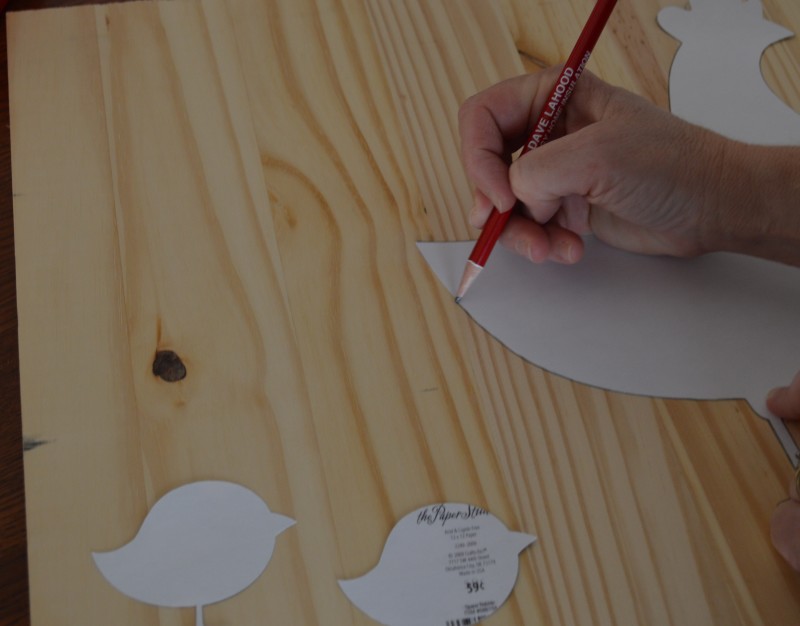
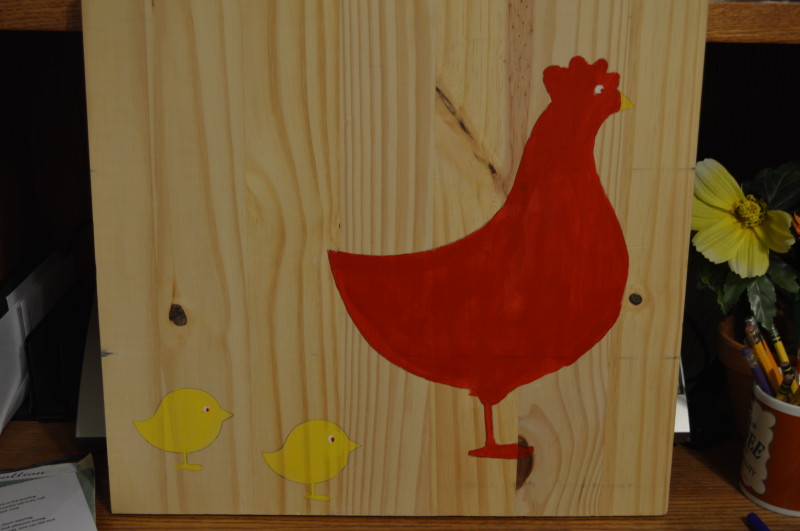
2. Then I traced around the cut-outs onto my board…
3. …then painted.
But I didn’t like how the hen and chicks blended in with the background. You can’t really tell from the picture above but the contrast wasn’t enough to really make them stand out like I wanted. So I primed the whole board for repainting.
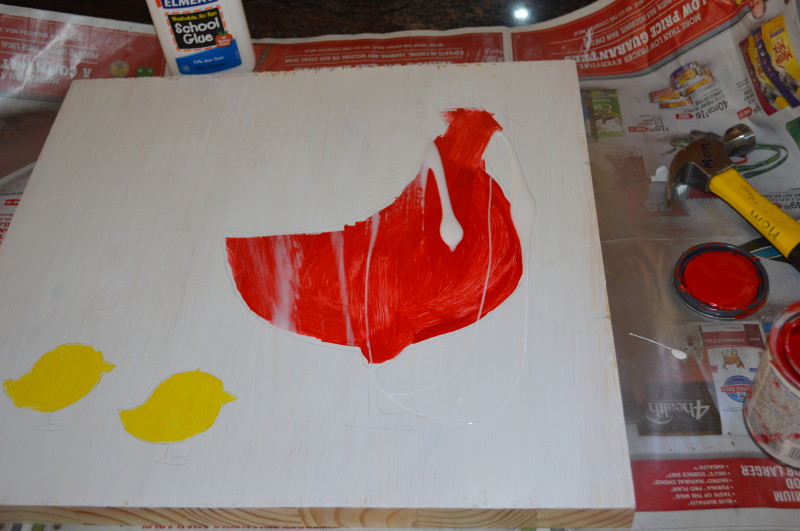
4. This time I decided to try to make a crackling effect. Here’s a simplification of the process for doing it. Paint your base color that you want peeking through when you’re all finished first. Then pour some Elmer’s glue onto your picture.
5. Spread the glue around covering the whole surface. Now here is where I’m sure I did it wrong. Because my picture was several colors I should have painted the glue on in sections, working on one section at a time and so it dried before I could paint the 2nd layer.
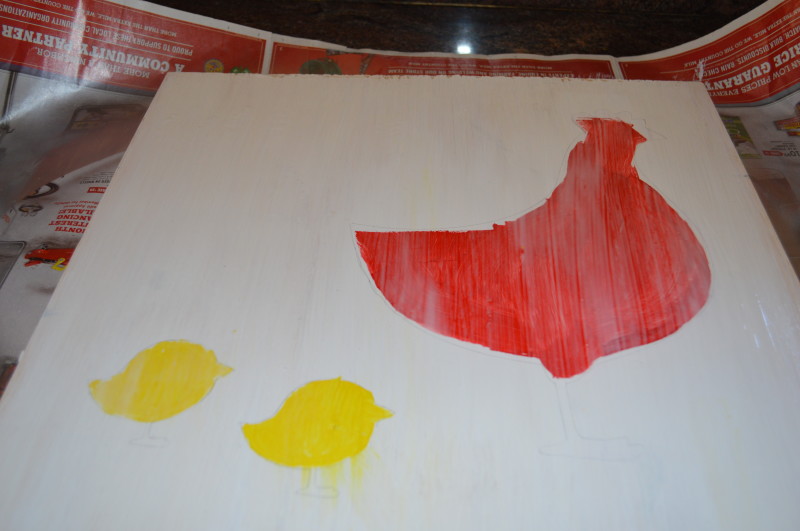
6. When the glue is not super wet but just slightly tacky, paint the 2nd coat of paint. It can be a different color but I painted mine the same as my first coat.
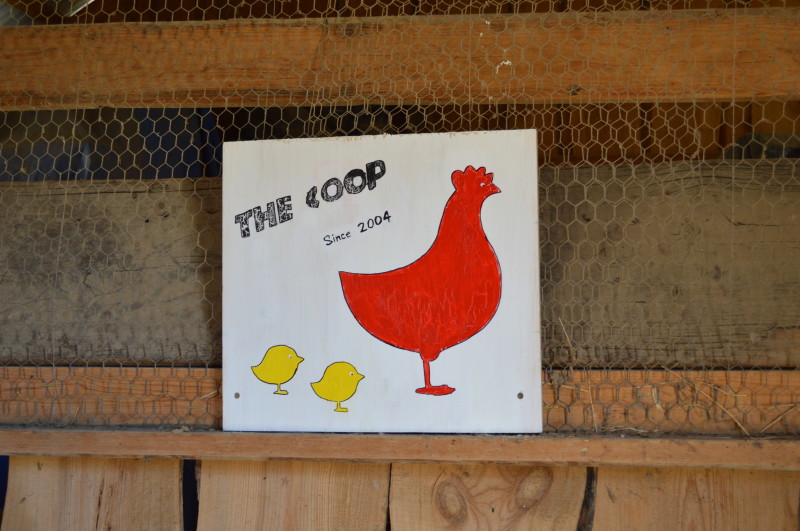
As it dries it will start to crackle. If you notice, mine didn’t crackle much at all. You can see it did some on the words and the red chicken. The background I did not even paint the second time even though I had covered it with glue.
7. Spray the now dried paint and glue with a few coats of Polyurethane.
And the final step…
Go to the coop and hang your work of art, staking claim that this is “The Coop since 2004” in case anyone should ever wonder.
